Cloudy with a chance of CICADAS?

explainers, radars, sciart

As the Cicada BroodX emerge from their 17-year slumber, they not only show up in piles on the ground, they also show up in weather radars!

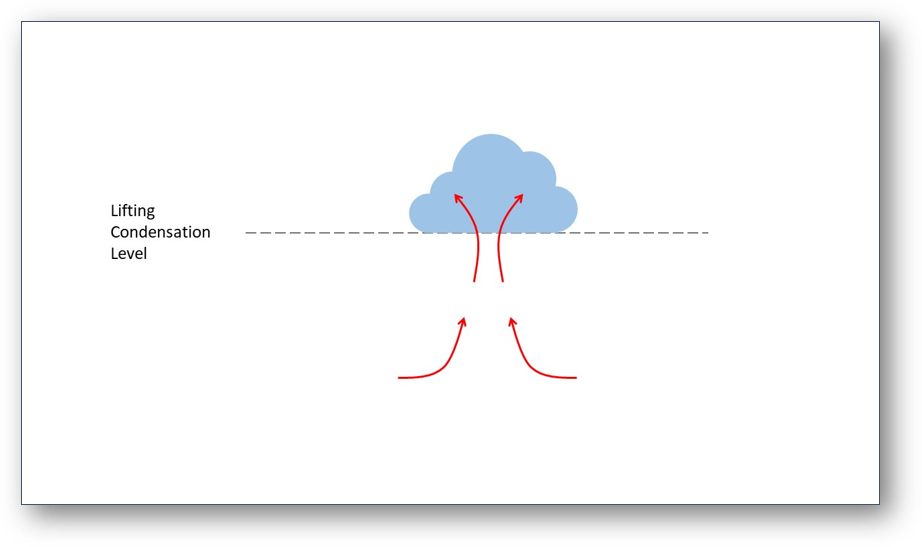
Weather radars send out signals into the atmosphere, and these signals bounce off anything large enough to reflect them, such as raindrops, snow, or hail. But these signals can also detect other stuff, like birds and insects!

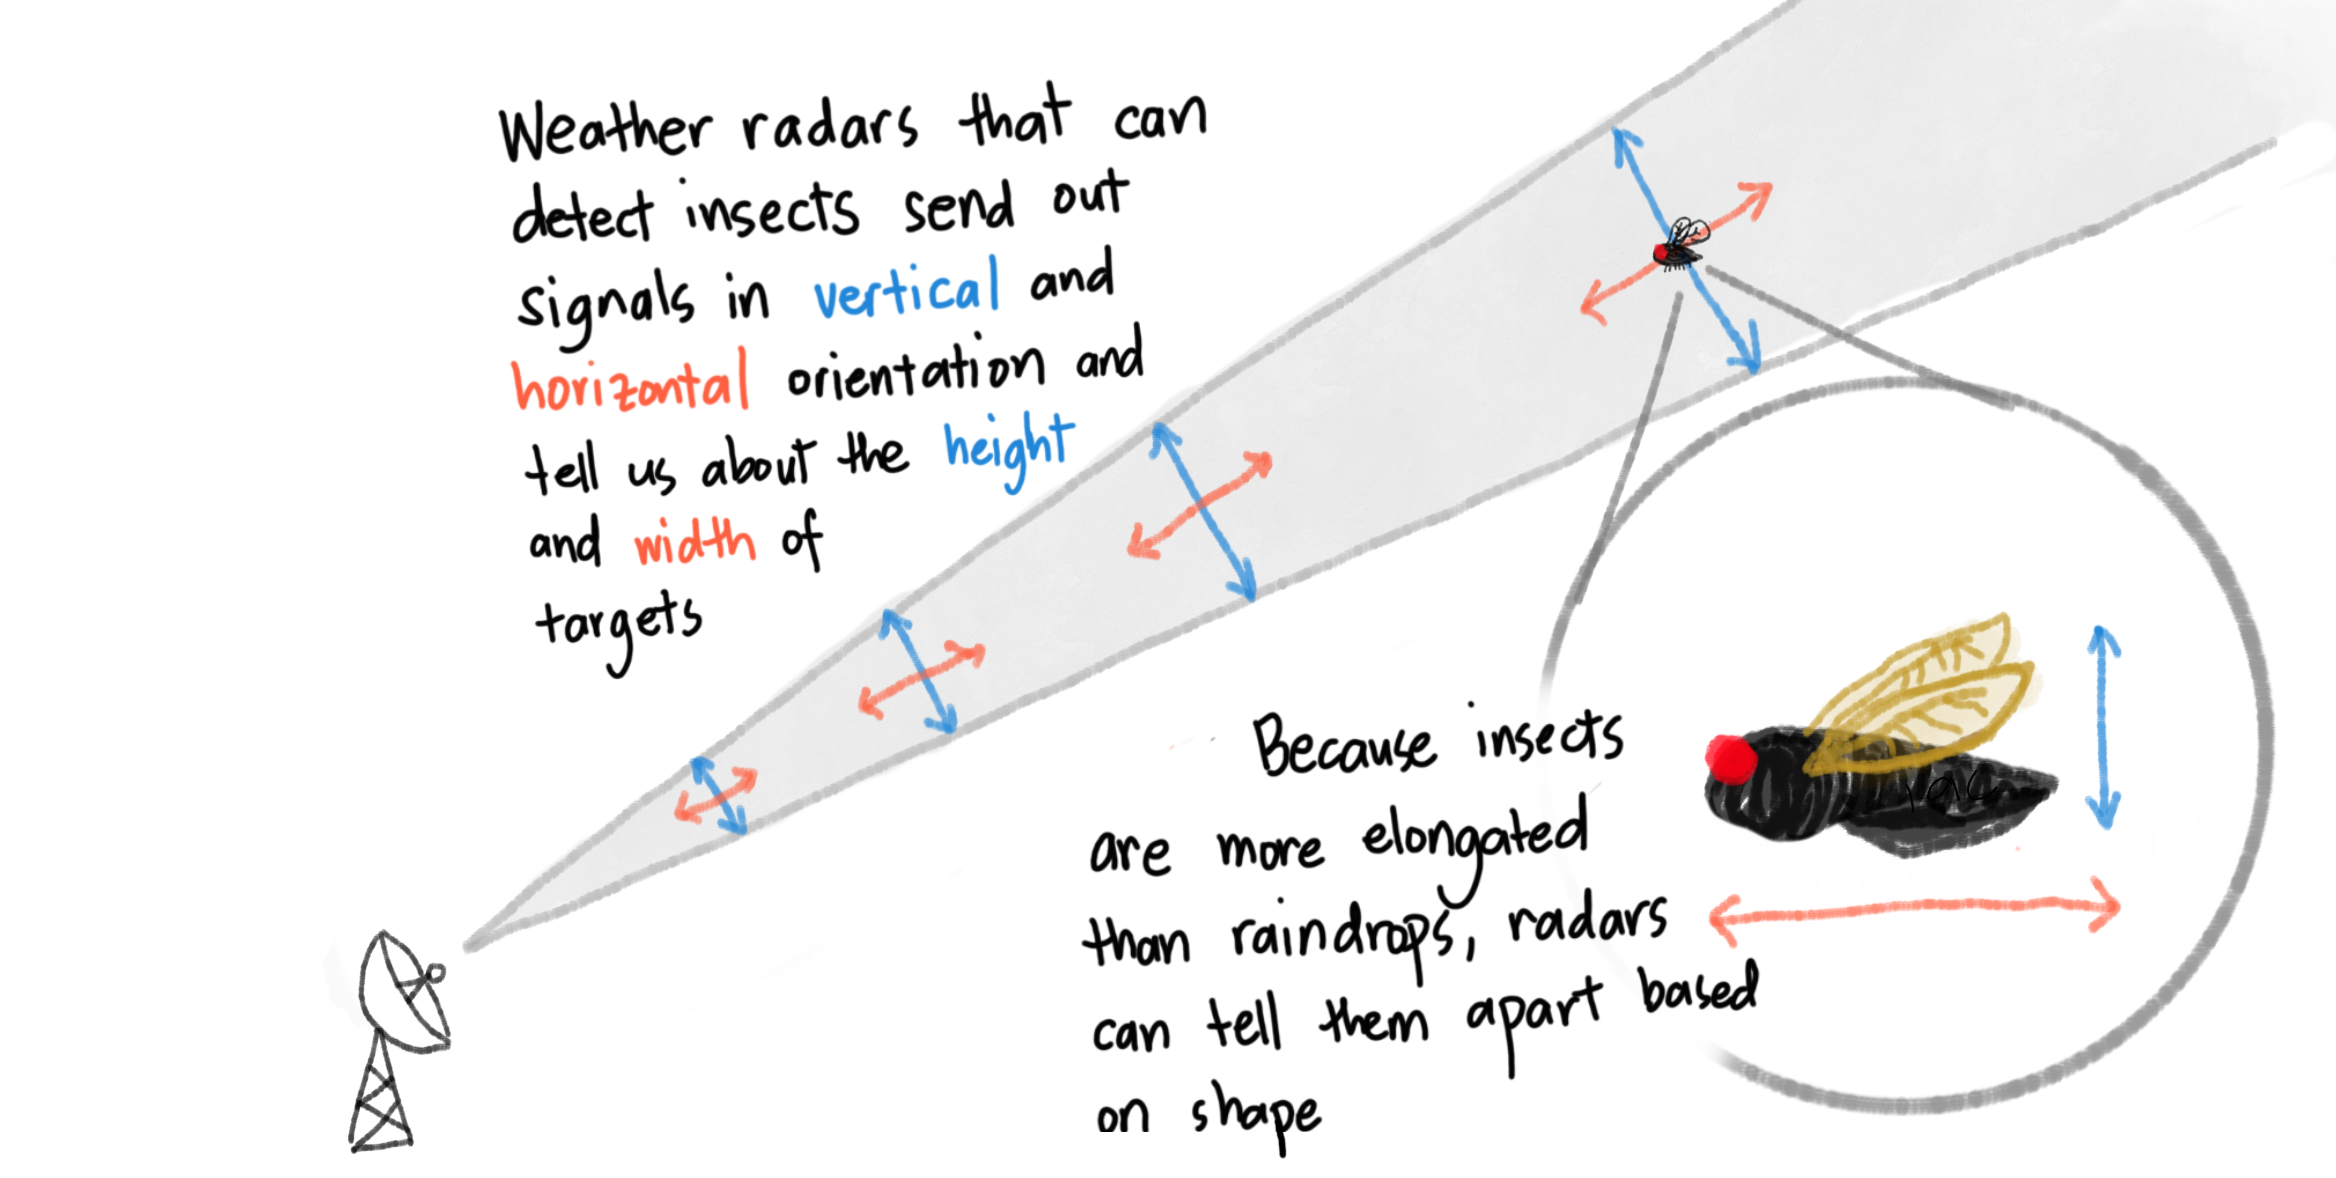
Weather radars that can identify between precipitation (rain, snow, hail) and biological scatterers (insects, birds) are the polarimetric or dual-polarization radars. These radars send out signals in the vertical and horizontal orientation, and based on the signal reflected back they can tell the size and shape of the object. Biological scatterers tend to have a more elongated profile, so the horizontal signal they reflect is usually stronger than the vertical.

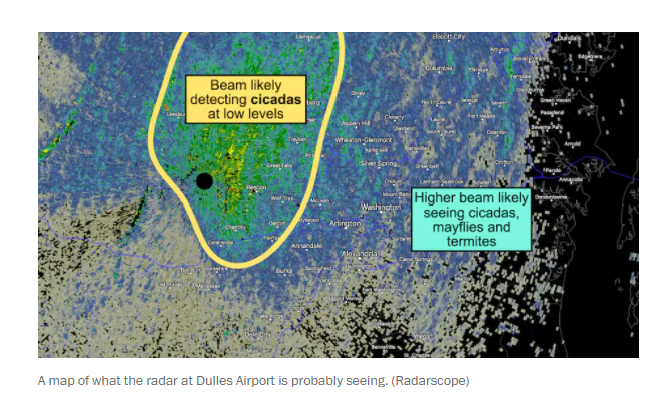
And because radar beams point upwards (and because of the Earth’s curvature), they can see stuff closer to the ground by looking at the areas closer to the radar and at higher altitudes by looking at the areas further away from the radar.

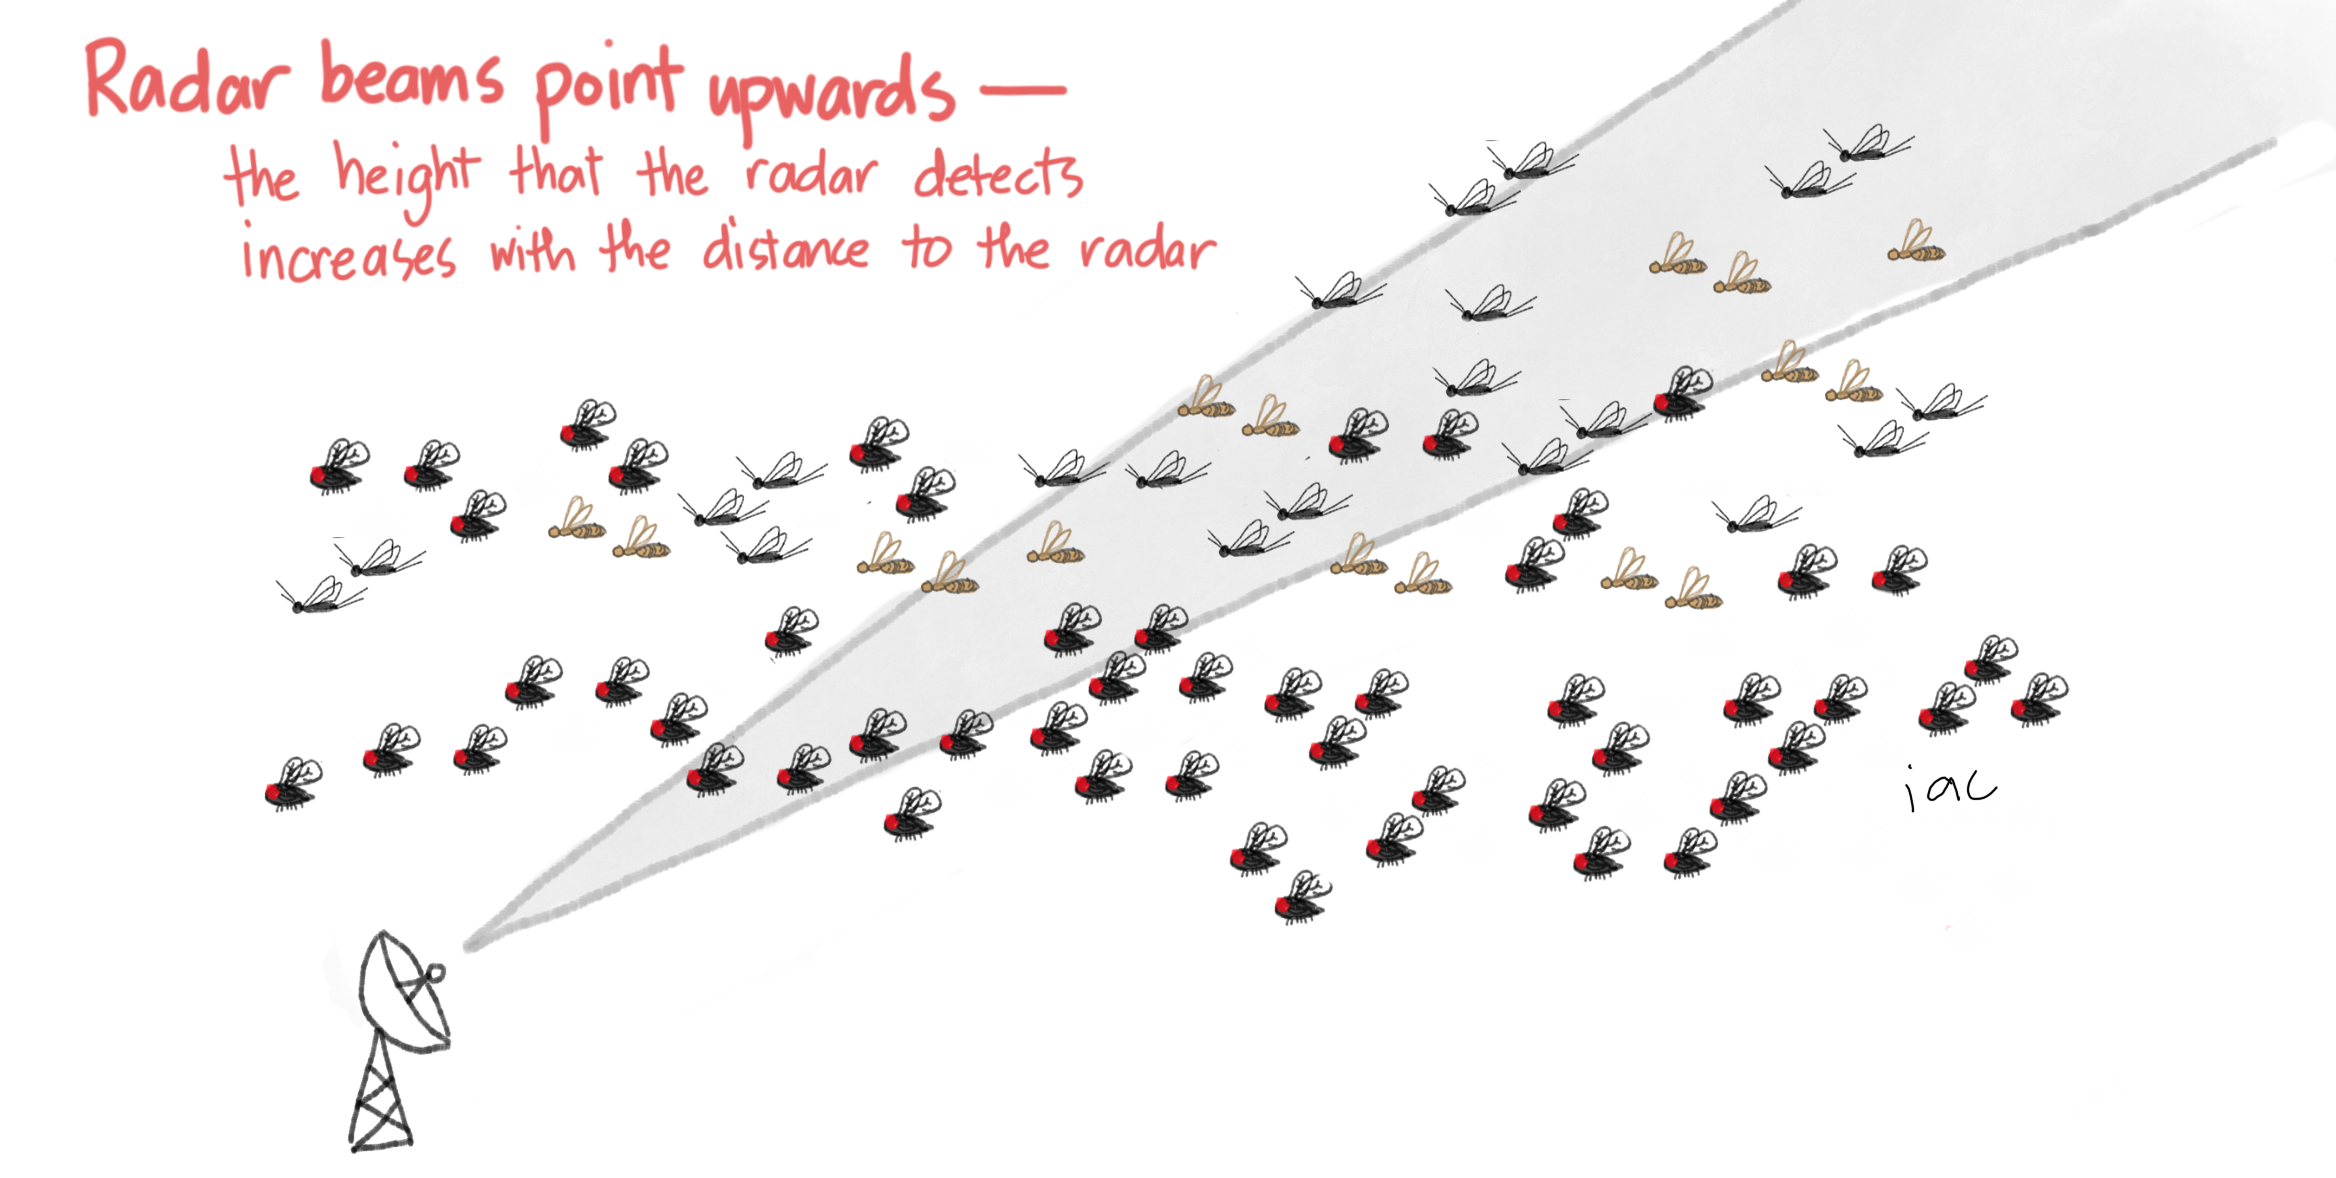
So when the weather radars see non-rain signals further away, those might be insects that can fly higher like mayflies and termites, as suggested by the radar image above from the Washington Post.

What other things do you think weather radars can detect? How are scientists using weather radars for studies that don’t involve the weather? Leave a comment!

Making #SciAnimations using Powerpoint (Part 1)

how-to, scianimation, sciart

If you find yourself needing to show some movement or change when describing your science, and you usually do this by drawing arrows, consider using making a short animation.

Animations are made of frames—a sequence of images that show incremental changes. Have a look at the example below:

The animated GIF above is made up of 4 frames: 1) one with no cloud, 2) one with a small cloud, 3) one with a medium cloud, and 4) one with a large cloud.

In Powerpoint, you can use the slides as frames. By drawing on each slide as if it were a frame, you can see how your animation will go by advancing the slides.

If you have a series of images that also show movement, you can paste them in the slides and create an animation from it too!

Once you have your frames as sequence of slides, you are ready to export it as an animated GIF. To do this, click on File > Export > Create an Animated GIF. From the settings you can adjust Seconds to spend on each slide . More seconds on each slide means that the animation will go slower. You can also type in a number instead of using the arrow buttons if you want slide durations to be less than a second. You can also select which slides you want to convert to GIF, if you don’t want to convert all the slides you have. Complete the step by clicking on Create GIF.

That’s it! You now have your own animated GIF!